


 3.1 Installation Phase I
- VIO Installation


 3.1 Installation Phase I
- VIO Installation
The System Configuration window appears (see Figure 4).

The System Configuration (cont.) window now appears (see Figure 5).

If you did not already select a printer on the panel
shown in Figure 4, the Select System Default Printer
window will appear as shown in Figure 6.

Figure 6: Select System Configuration Printer
The OS/2 Setup and Installation window appears as shown
in Figure 7.
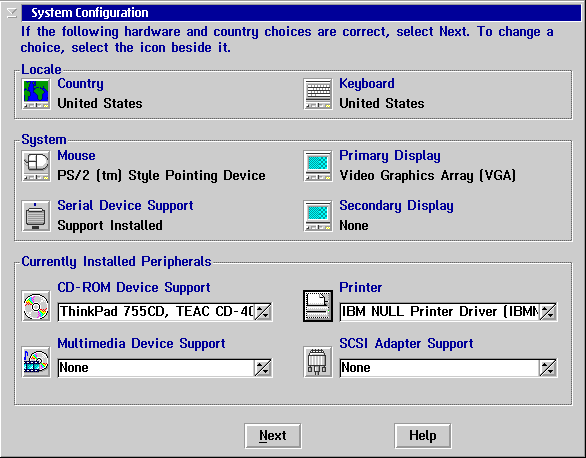
Figure 7: OS/2 Setup and Installation
The Advanced Options window appears.
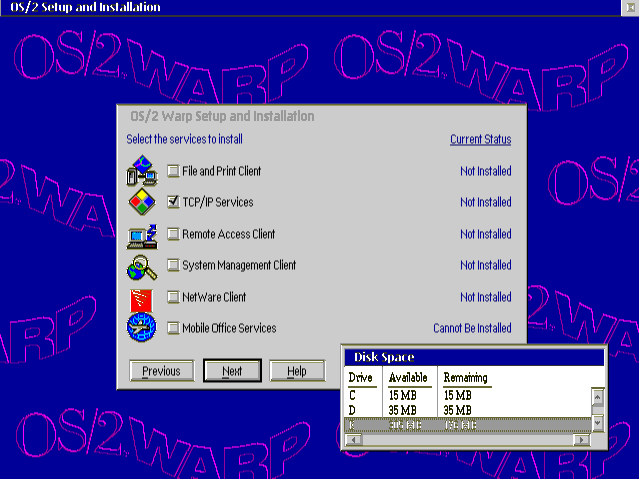
The OS/2 Warp Setup and Installation window appears (see Figure 8).
MPTS will be installed automatically. Do not install the File and Print
Client or any networking component other than TCP/IP.
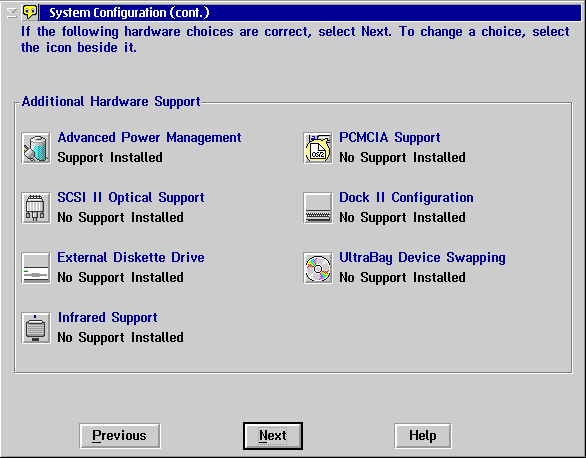
Figure 8: OS/2 Warp Setup and Installation
The Configuration window for the networking components
appears as shown in Figure 9.
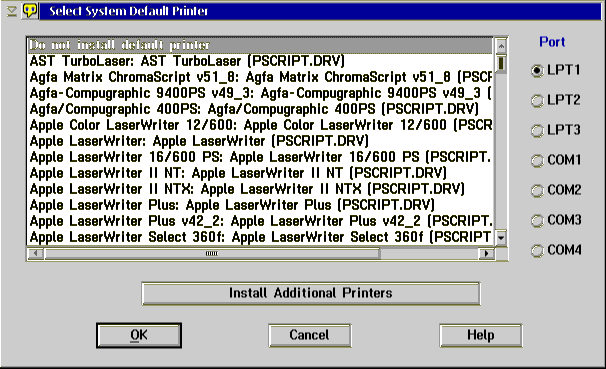
Figure 9: Configuration - Welcome to Configuration
The TCP/IP Services screen appears. See
Figure 10.
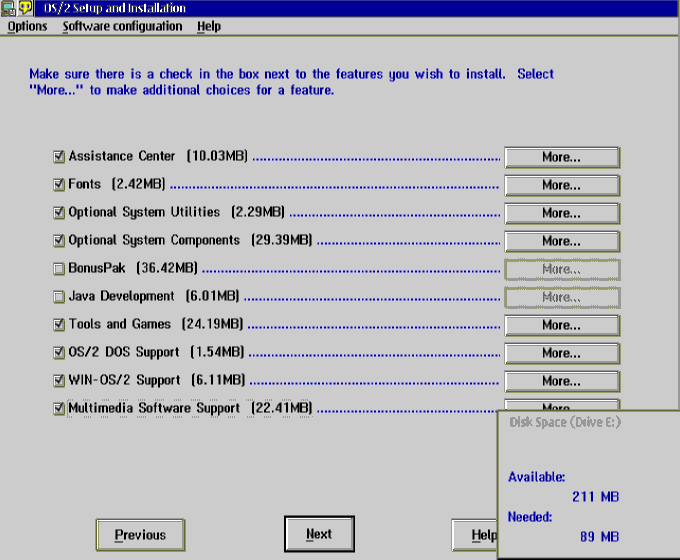
Figure 10: Configuration - TCP/IP Services
The followings fields can be edited, but for the most part they are covered through the DHCP Server:
If you have no DHCP Server in your LAN you must enter data in the followings fields:
If you use a DHCP Server or you do not configure any TCP/IP configuration,
the TCP/IP Configuration Info window will apear as shown in
Figure 12.
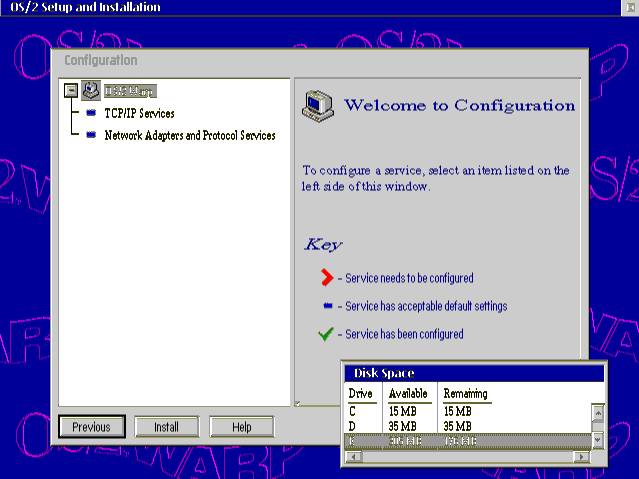
Figure 12: TCP/IP Configuration Info
The Network Adapter and Protocol Services screen appears
(see Figure 13).
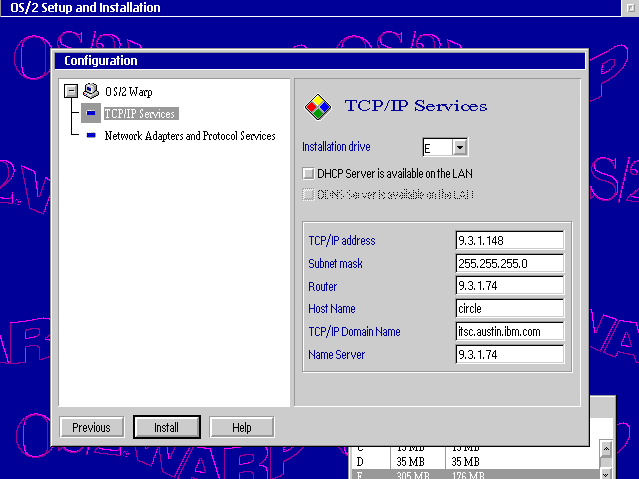
Figure 13: Configuration - Network Adapter and Protocol
Services
The MPTS and LAPS settings are described in Chapter 6. Installing the File and Print Server Component.
An Information window 'Configuration' appears.
The Transferring Files window appears. Files will be copied to the hard disk. Several information screens are displayed. Then the system reboots automatically.
The OS/2 Warp Installation window appears and indicates that files are copied to the hard disk. After a while, an information window appears and informs you that the installation is complete.
The system then reboots automatically. After the reboot, the OS/2 Warp 4 system starts and the installation is finished.