

 Chapter 7. TCP/IP
- Insert the OS/2 Warp 4 CD.
- At a command prompt, change the drive to that of the CD-ROM and change
your directory to \CID\IMG\TCPAPPS\.
- Start INSTALL.EXE.
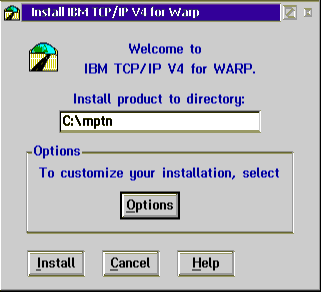
The TCP/IP installation window appears as shown in
Figure 42.

Figure 42: TCP/IP Installation Window
We recommend that you change the installation directory to \MPTN. That way
you do not use so many directories to hold your networking files.
- Press Options.

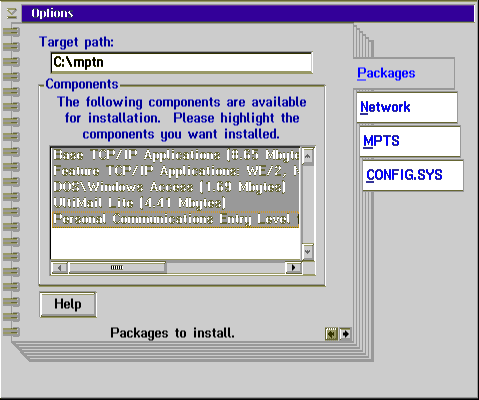
Figure 43: TCP/IP Options - Packages
- On the first page of the Options notebook, called Packages, you can
select the TCP/IP components from the base kit you want to install.
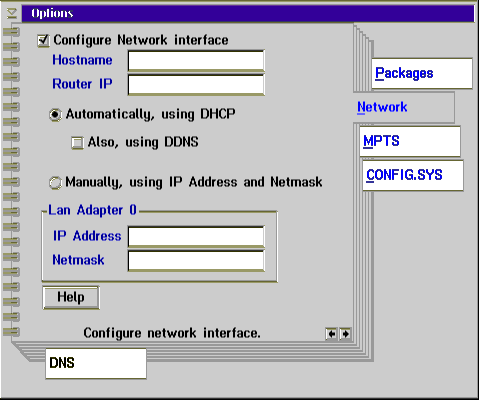
- On the Network page you configure your machine for the TCP/IP network

Figure 44: TCP/IP Options - Network
If a DHCP server is available, select the appropriate check box. Otherwise
you will have to perform the configuration manually by filling out the
appropriate fields.
- Close the Options notebook.
- In the Installation window press Install.
The installation of the TCP/IP base kit is now starting.


 7.2 Installing DHCP - /
DDNS - Server


 Chapter 7. TCP/IP

