


 Chapter 9. NetFinity
- Insert the OS/2 Warp Server SMP CD-ROM in the
CD-ROM drive.
- Open a command prompt and change to the CD-ROM drive.
- Change to the \CID\SERVER\SYSVIEW2\SERVER_2 subdirectory.
- Type Install and press Enter.
The SystemView Installation window appears as shown in
Figure 59.
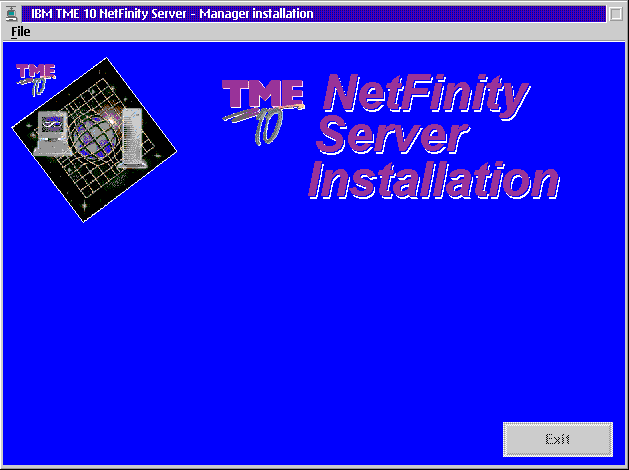
Figure 59: SystemView Installation
The Instructions window also appears (see Figure 60).
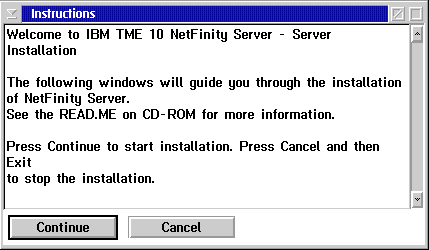
Figure 60: Instructions
- Read the instructions in the Instructions window, then select the
Continue button and press Enter.
The Install window appears as shown in Figure 61.
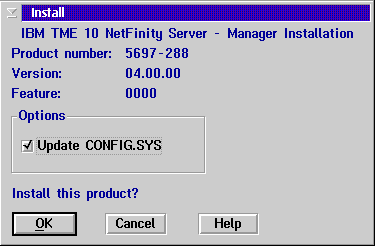
Figure 61: Install
- Select the OK button and press Enter.
The Install - directories window appears as shown in
Figure 62.
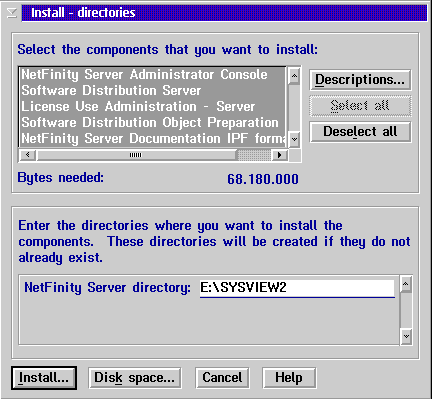
Figure 62: Install - directories
- Choose the Select all button and check that the NetFinity Server
directory is correct.
- Choose the Install button and press Enter.
The Install - progress window appears as shown in
Figure 63. The files are now transferred to the hard disk.
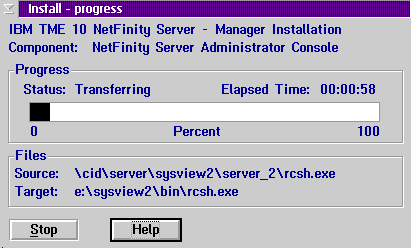
Figure 63: Install - progress
Next, the TME 10 Netfinity Server Configuration notebook appears (see
Figure 64).
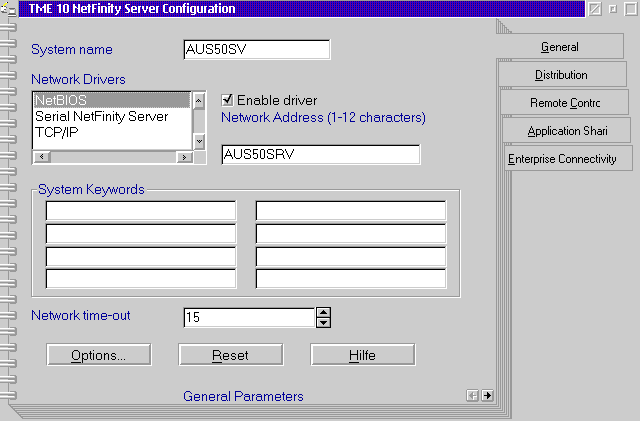
Figure 64: TME 10 Netfinity Server Configuration
- Check all the tabs: General, Distribution, Remote Control, Application
Sharing, Enterprise Connectivity.
-
General:
- Enter a name for this system, so that it can be
addressed in the NetFinity Server environment. The name can coincide with the
NetBIOS Name or the TCP/IP hostname if you desire.
-
Distribution:
- The Backup area field displays the default backup
directory for the Distribution component. Enter the path of your choice if you
wish to change the default. The Backup directory is a functional area that
stores the backup copies of software. The backup copy of a file or a software
package can be used to return to the state that existed before a removable
change was installed.
-
Remote Control:
- The Start RWC sessions in Active state check box makes Remote control
sessions start up in active mode. If this option is deselected the RWC sessions
will start up in monitoring mode.
-
Application Sharing:
- Select this checkbox to enable this workstation to access shared
applications from a remote file server. When you check this box, all the other
items in this page are enabled. If you select to enable your workstation for
application sharing, the configuration process produces an application sharing
icon and adds it to the OS/2 System Startup folder so that you can
automatically logon to the file server.
-
Enterprise Connectivity:
- Disable the check box on this page if this server will not be connected to
a remote AIX or MVS software distribution server and you do not need to define
any remote servers. When you disable this check box, the server is configured
as a SERVER_NO_COMMS in NVDM.CFG. The default is to have the server enabled for
remote communication; the server is then defined as SERVER_WITH_COMMS in
NVDM.CFG.
- On the General page in the System name field, enter a system name (such
as. AUS50SV).
- Select a Network driver (or more) and enable
it by clicking on the Enable driver check box.
- Enter some keywords to find this system later on
and assign it to a group, such as SERVER and ITSO (or your department name)
- Close the notebook.
An Information window appears as shown in
Figure 69.
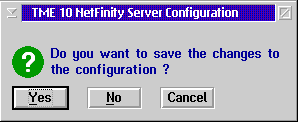
Figure 65: TME 10 NetFinity Server Configuration Information
- Select the Yes button and press Enter.
The system saves the configuration. Then the Install - progress window
appears again as shown in Figure 66 and the rest of the
files are transferred to the hard disk.
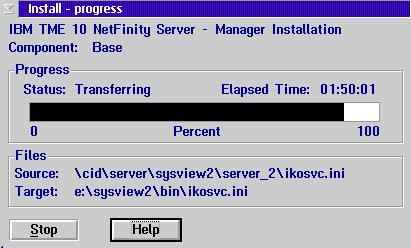
Figure 66: Install - progress
The Installation and Maintenance window appears (see
Figure 67).
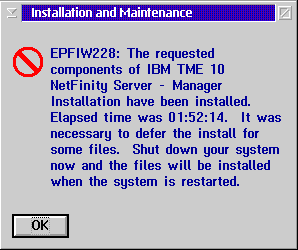
Figure 67: Installation and Maintenance
- Select the OK button and press Enter.
The NetFinity Server folder is created on the desktop.
The installation is now finished.


 Chapter 10. Personally
Safe and Sound (PSnS)


 Chapter 9. NetFinity


